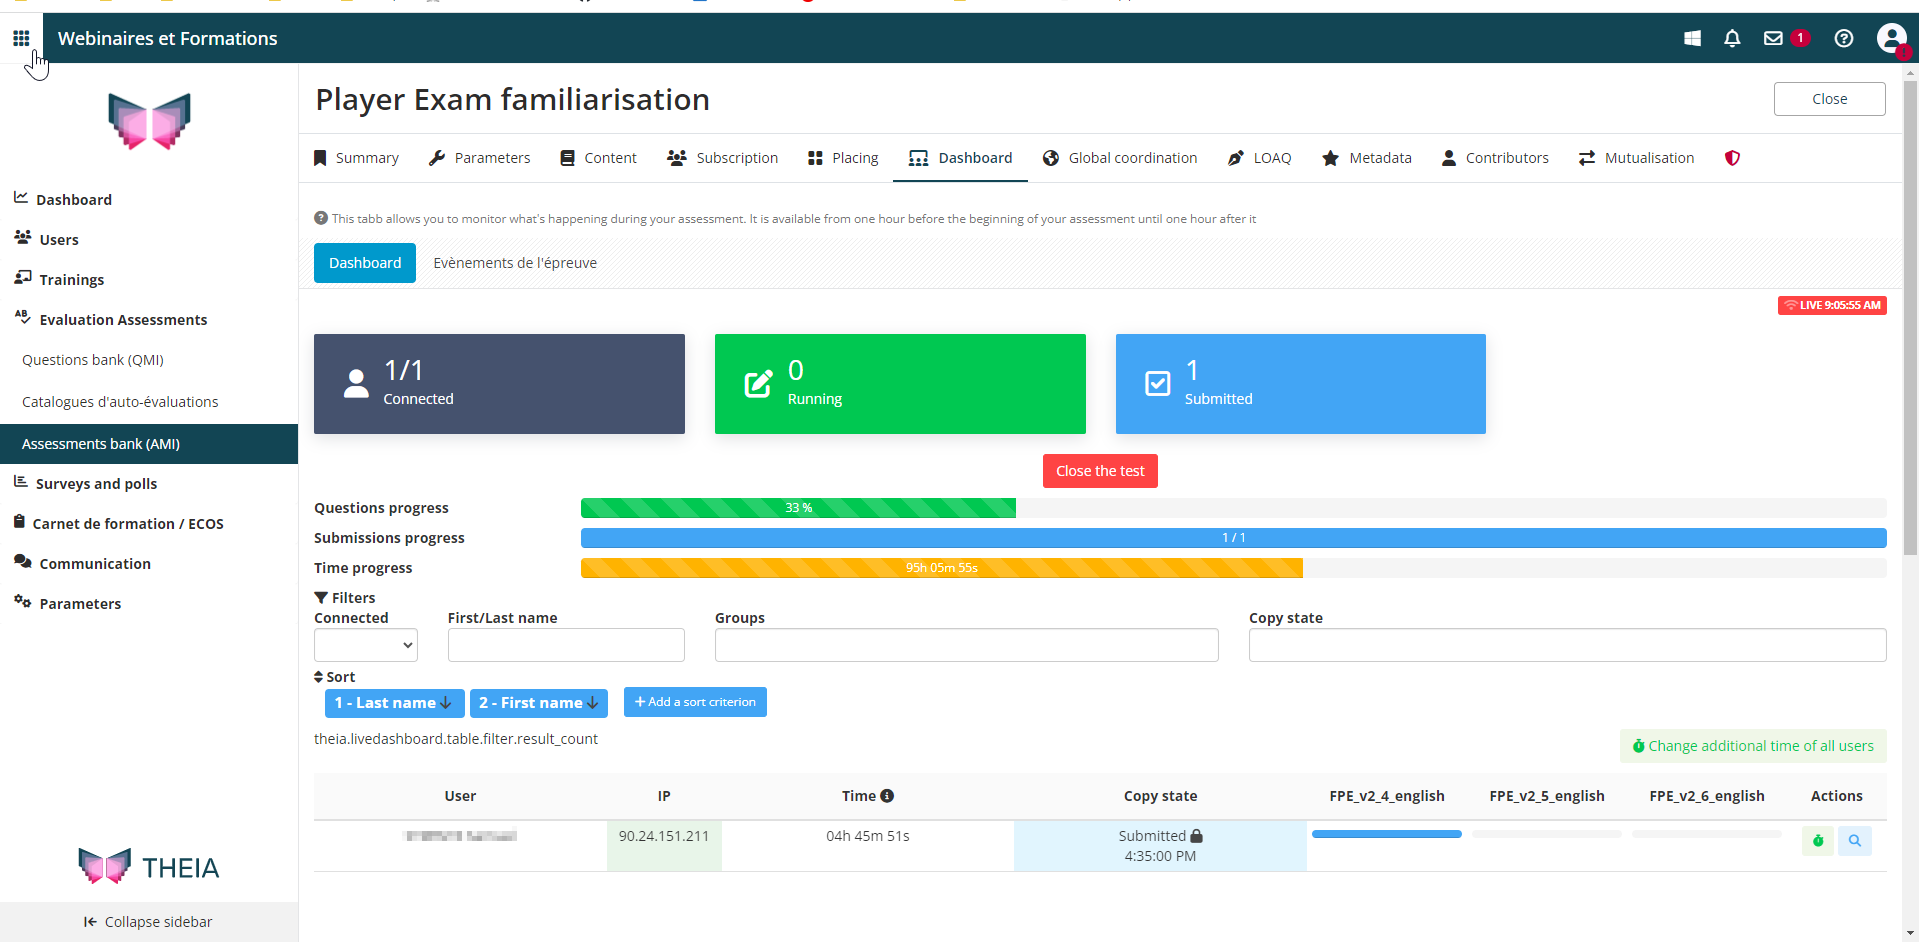
The “Evaluation assessments” > Assessments Bank (AMI) menu is used to monitor the progression of the test using the “Dashboard” tab. The top of the window displays key data and progress bars. You can quickly see if all candidates are connected, if they are all writing their work or if all work has been submitted.
This window also gives you the opportunity to close the test before it has finished using the red ‘Close Test’ button. This will automatically change the end date and time in the ‘Settings’ tab.

The bottom section displays a list of all the candidates in the test. Various information is then available:
- Student : the student’s name can be supplemented with an indication of any extra time or special arrangements for the test.
- IP address: The connection status indicates “Disconnected” or the value of the IP address if the user is connected to the platform.
- Time: This column shows the time elapsed between accessing the test and the last action taken (saving an answer or submitting).
- Copy status: Three statuses are available: Running, Not started or Submitted. If the status is Submitted, the padlock icon will cancel the submission. The student can then access their copy again.
- Folders: Each column has a progress bar to show the progress of each folder.
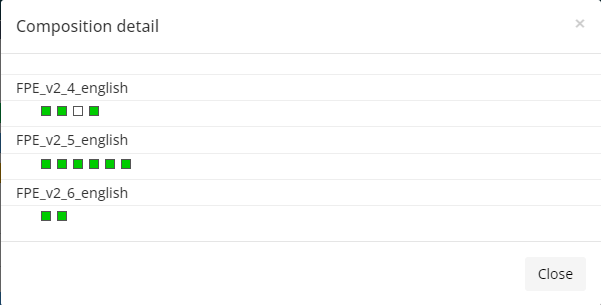
- Magnifying glass icon: This opens a window showing the student’s saved responses (in green) and the unedited responses.

1. Monitoring assistance
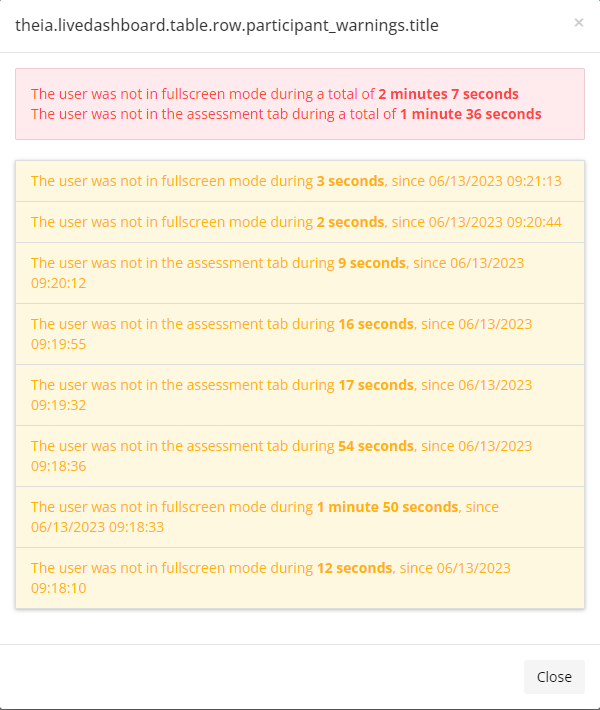
Monitoring assistance must be enabled in the Event Settings tab. When the student accesses the assessment, the browser will switch to full screen mode after displaying an information message. Each time they leave this mode, an alert will appear in the “Warnings” column via the “Eye” icon.
The supervisor will then be able to consult each anomaly by activating the supervisor support in the “Settings” tab of the event. When the participant accesses the assessment, the browser will switch to full screen mode after displaying an information message. Each time they leave this mode, an alert will appear in the “Warnings” column, via the “Eye” icon.
The supervisor can then consult each anomaly.

2. Changing the test time
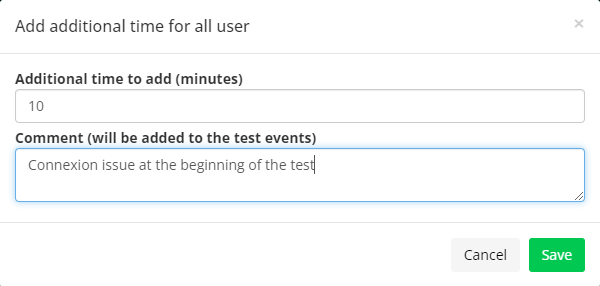
For each student, the “Stopwatch” icon opens the following window to add extra time. A comment must be entered.

The ” Change additional time for all learners” button can be used to add, remove or change the times for all learners. This adjustment can be added to the exam end time.
For the users concerned, this time is added to the time resulting from the test arrangement. The information then appears in the “Learner” column.
If you want to find out more, take a look at the tutorial below: “What is post-processing for and how can I use it effectively?”


